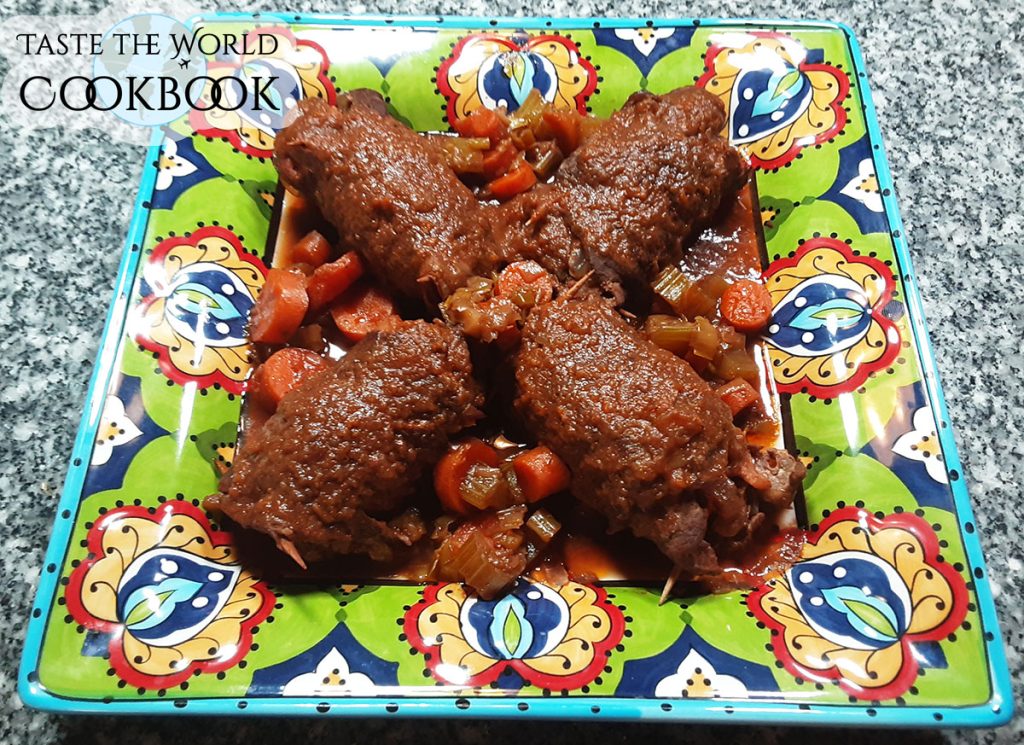
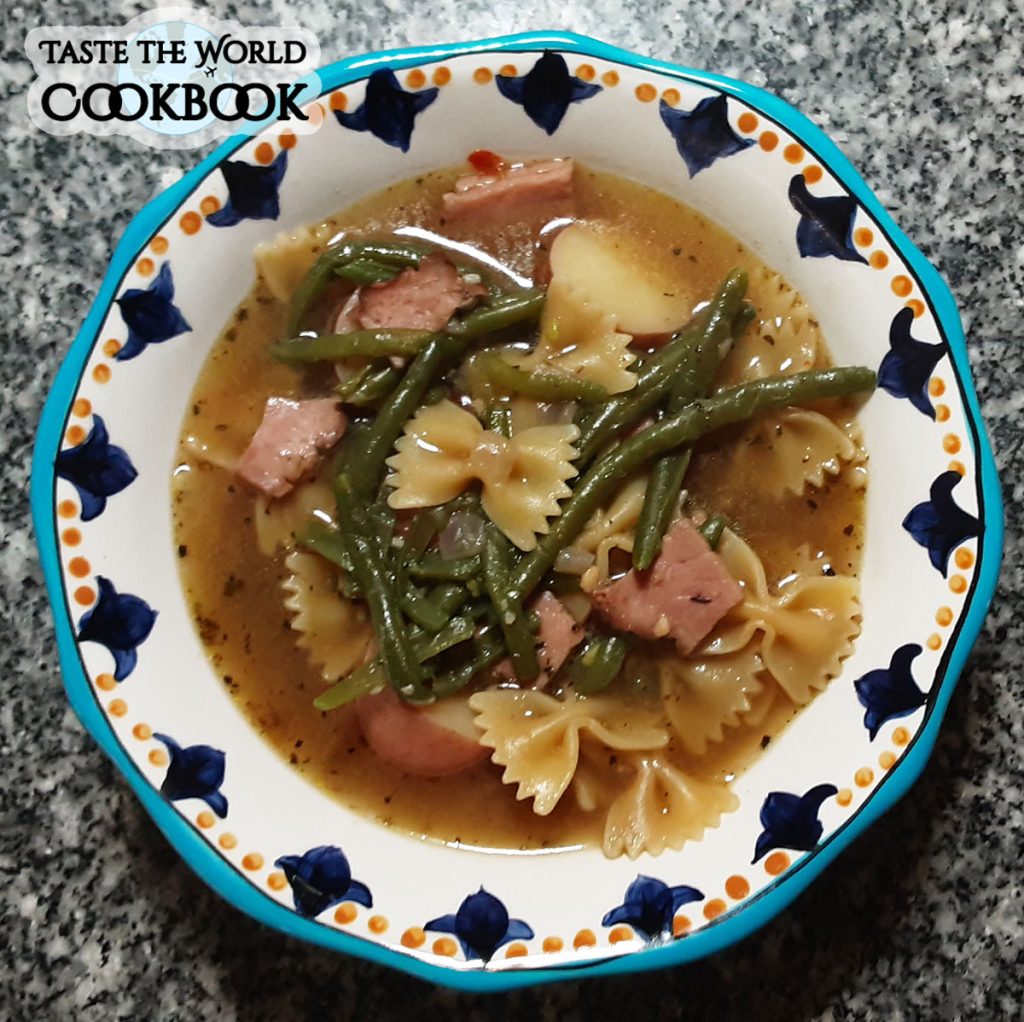
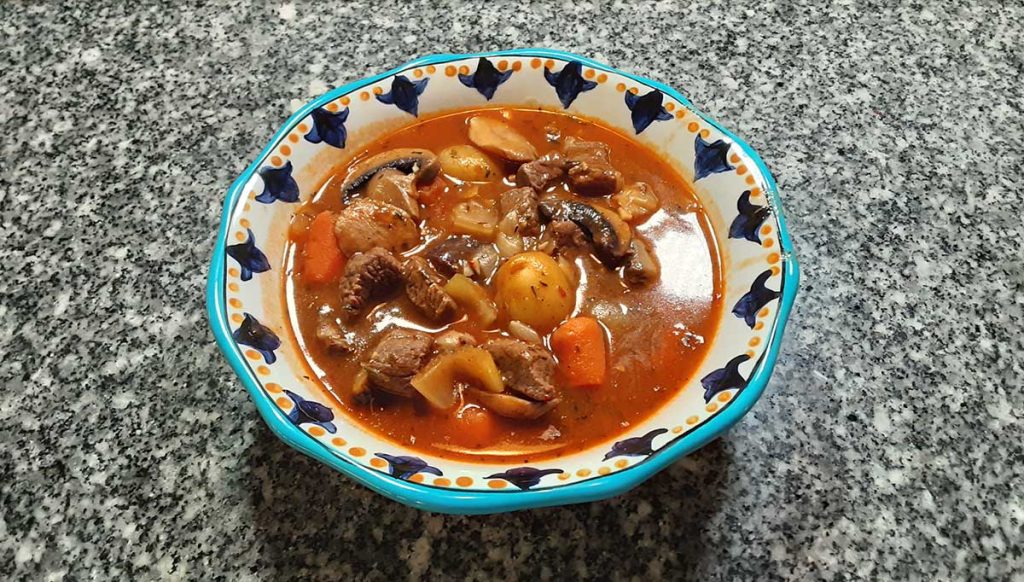
Chuckwagon Beef and Vegetable Stew is an old American recipe dating back to the days of cowboys and cattle drives. Cooks would carry root vegetables on the chuckwagon to put in a cast iron pot with some beef and stew it for a few hours to feed the hungry cowboys.
Table of contents
Ways to Make Stew
Brown stews are made with pieces of red meat that are first seared or browned, before a browned mirepoix, and sometimes browned flour, stock, and wine are added.
Meat-based white stews also known as blanquettes or fricassées are made with lamb or veal that is blanched or lightly seared without browning, and cooked in stock.
How to Store Beef and Vegetable Stew
Properly stored, the cooked beef stew will last for 3 to 4 days in the refrigerator. To further extend the shelf life of cooked beef stew, freeze it; freeze in covered airtight containers or heavy-duty freezer bags.
Store stew in heavy plastic, airtight containers, leaving ¼- to ½- inch of space to allow for expansion in the freezer. Stew can be kept frozen for up to 3 months.
History of the Recipe Beef Stew
In the early days of the cattle industry, before cross-breeding with other stock, Texas beef was very lean. Therefore, it was best cooked slowly over low heat for a long period of time. Stewing was the ideal cooking method for early beef.
The Metropolitan City of Fort Worth, Texas
Fort Worth is a city in North Central Texas. In the late 19th century, it became an important trading post for cowboys at the end of the Chisholm Trail. Today, it’s a modern city, with international art institutions like the Kimbell Art Museum. The Fort Worth Stockyards are home to rodeos, and the National Cowgirl Museum and Hall of Fame honor pioneers.


A Brief History of Fort Worth, Texas
The city of Fort Worth was established in 1849 as an army outpost on a bluff overlooking the Trinity River. Fort Worth has historically been a center of the Texas Longhorn cattle trade. It still embraces its Western heritage and traditional architecture and design.
Tourism in Fort Worth
Fort Worth is the 12th-largest city in the United States, known for Texas hospitality and a dozen remarkable districts full of culture and fun. The historic western Stockyards feature the world’s only twice-daily cattle drive, Billy Bob’s Texas, the world’s largest honky-tonk and the new Mule Alley. A connected downtown with the 35-block Sundance Square entertainment district. The stunning museums of the Cultural District, the Botanic Garden, and nearby Fort Worth Zoo.
Tex-Mex Cuisine
Tex-Mex cuisine (from the words Texan and Mexican) is an American cuisine that derives from the culinary creations of the Tejano people of Texas. It has spread from border states such as Texas and others in the Southwestern United States to the rest of the country.
Tex-Mex is most popular in Texas and neighboring areas, especially nearby states in both the US and Mexico. It is a subtype of Southwestern cuisine found in the American Southwest.
– Featured Restaraunt –
97 West Kitchen & Bar
200 Mule Alley, Fort Worth, TX 76164
Telephone: +1 682 255 6497

Continuing the Stockyards’ pioneering spirit, 97 West Kitchen & Bar explores new takes on American classics. Our menu features a broad range of contemporary Texas fare, elevated ranch favorites, and reimagined Southern comfort foods to bring Fort Worth a new culinary destination for spirited eats and drinks.
How to Make Recipe This Chuckwagon Beef and Vegetable Stew
Although it will take an hour and a half to make this delicious beef stew, it is very easy to make. Start by chopping up the beef and vegetables and season the beef with salt and pepper. Heat your Dutch oven and brown the beef and remove it and set it aside for later. Saute the onions and then add the remaining ingredients and beef, cover and cook for an additional hour or until everything is tender.
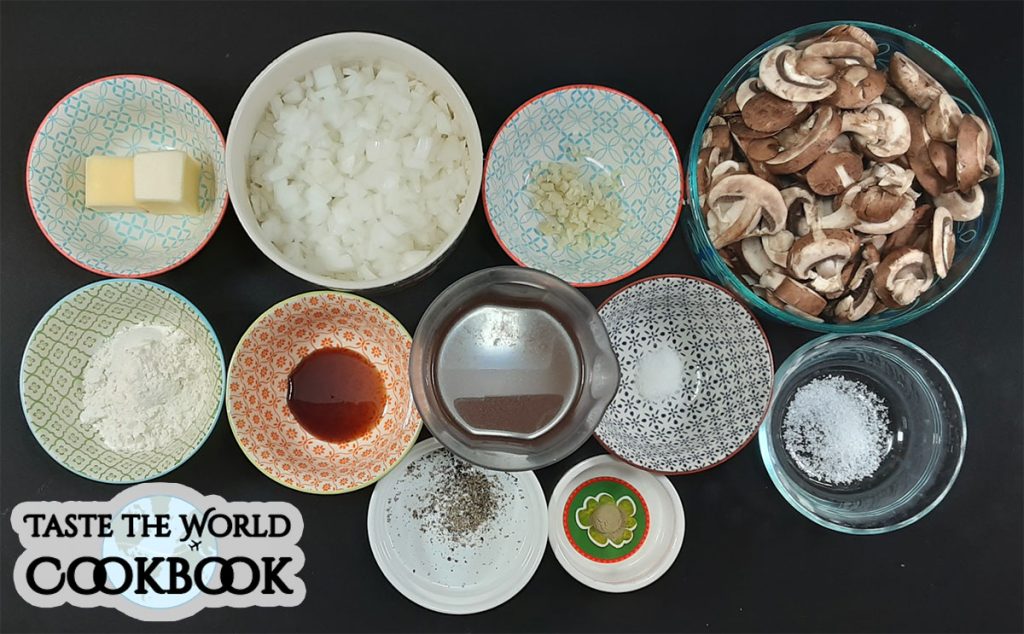
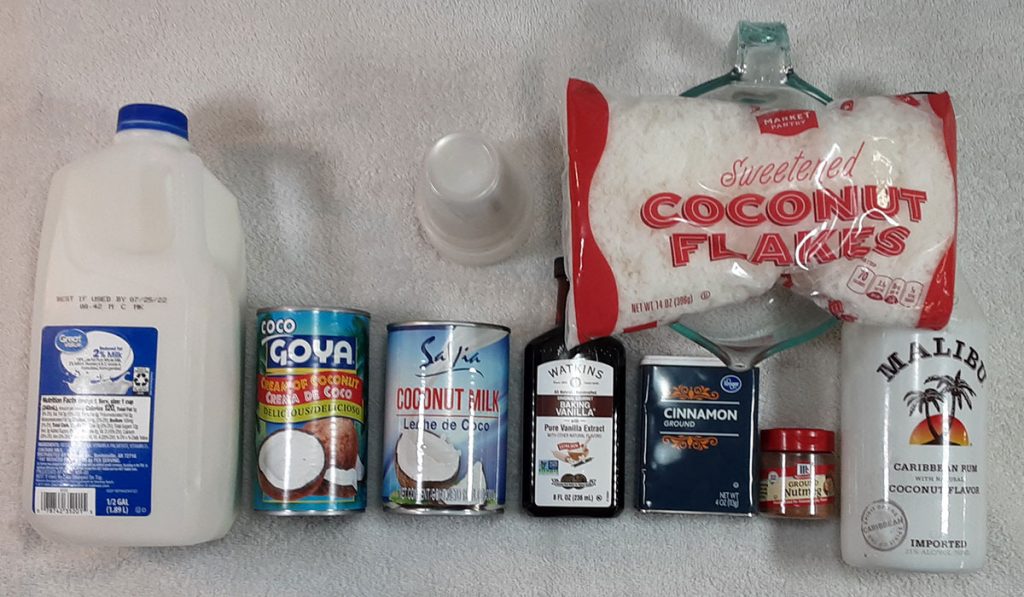
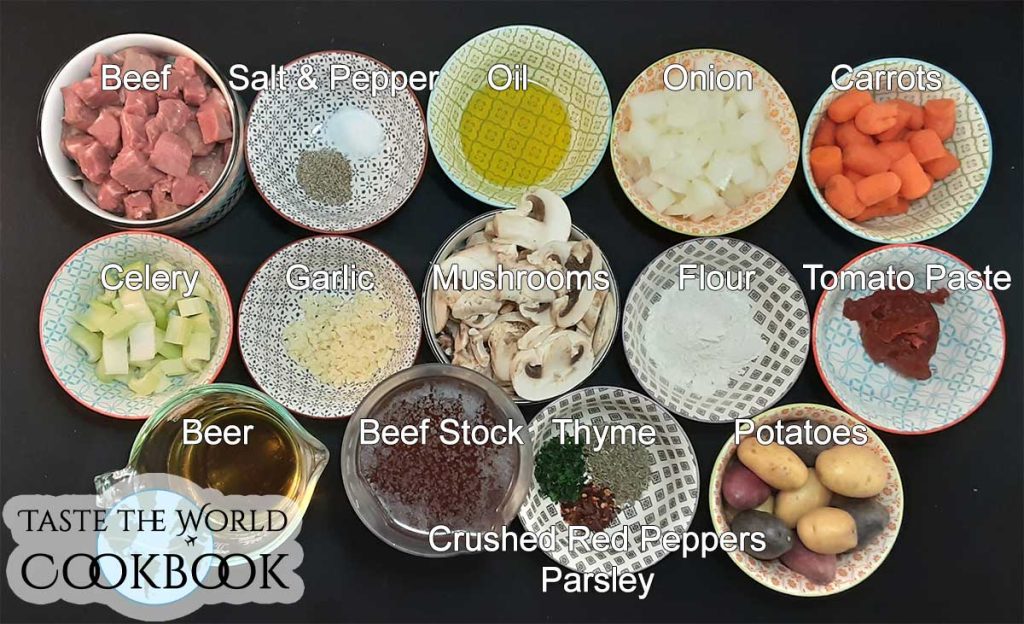
What You Need to Make Chuckwagon Beef and Vegetable Stew
Equipment
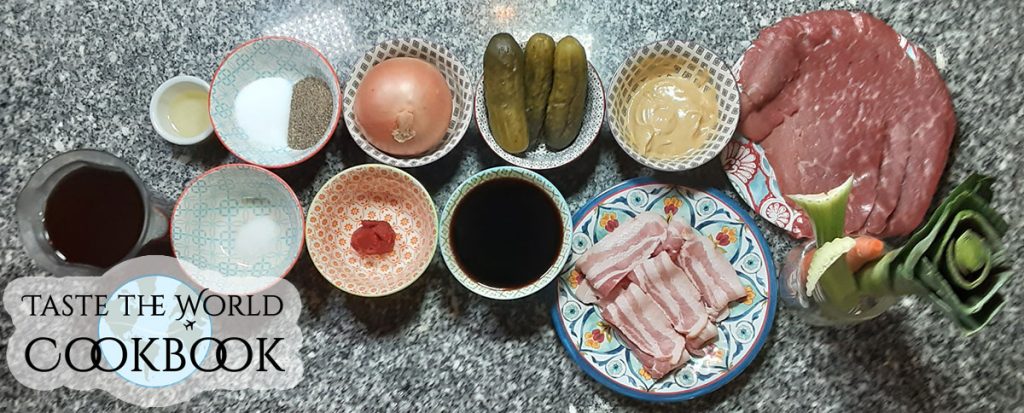
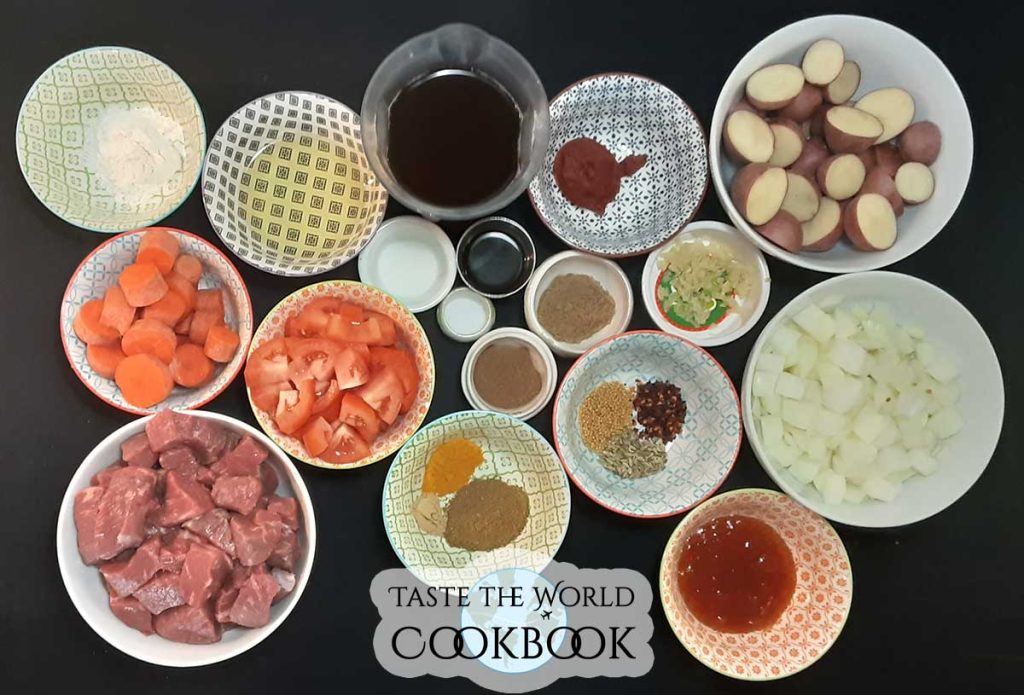
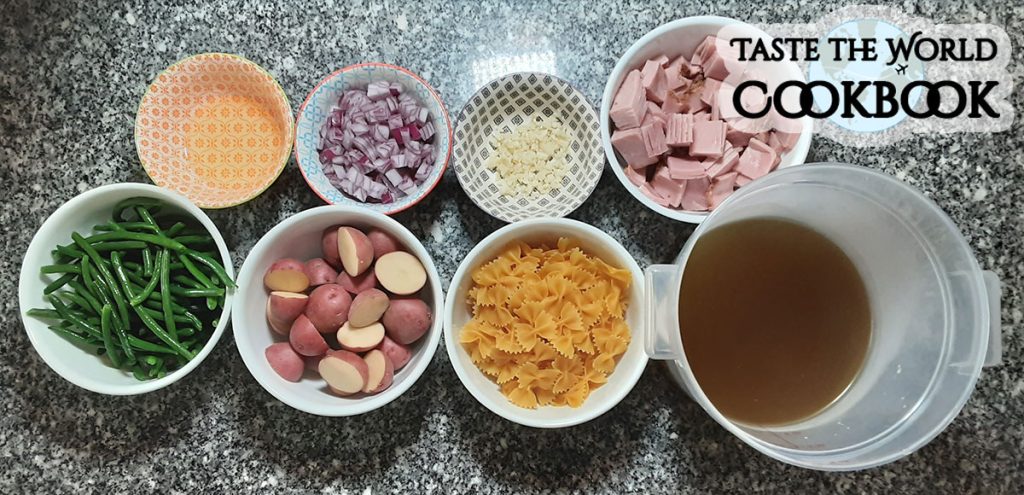
Ingredients
- 2 lbs top sirloin steak diced
- 1 tsp salt
- 1 tsp black pepper
- 2 tbsp olive oil
- 1 medium yellow onion diced
- 2 cups carrots peeled and diced
- 1 cup celery ribs diced
- 3 cloves garlic minced
- 8 oz white mushrooms sliced
- 3 tbsp all-purpose flour
- 2 tbsp tomato paste
- ½ cup dark beer
- 2 ½ cups beef stock
- 2 cups baby potatoes cut in half if needed
- 1 tbsp dried thyme
- 1 tbsp crushed red peppers
- 2 tbsp fresh parsley
How to Cook Chuckwagon Beef and Vegetable Stew
Time needed: 1 hour and 30 minutes
Chuckwagon Beef and Vegetable Stew Cooking Directions
- Season and Cut the Steak
Cut and season steak with salt and pepper.
- Heat and Brown the Steak
Heat olive oil in a Dutch oven over medium heat. Working in batches, add steak to the Dutch oven and cook, stirring occasionally, until evenly browned, about 6-8 minutes. Remove from pan and set aside.
- Add the Onions, Carrots, and Celery
Add onion, carrots, and celery. Cook, stirring occasionally, until tender, about 3-4 minutes.
- Add the Garlic and Mushrooms
Add garlic and mushrooms, and cook, stirring occasionally, until tender and browned, about 3-4 minutes.
- Whisk in the Flour and Tomato Paste
Whisk in flour and tomato paste until lightly browned, about 1 minute.
- Stir in the Beer
Stir in beer, scraping any browned bits from the bottom of the pot.
- Stir in the Beef Stock, Spices, Potatoes, and Steak
Stir in beef stock, thyme, bay leaves, baby potatoes, and steak.
- Simmer Until Tender
Bring to a boil; reduce heat and simmer until beef is very tender, for about 60 minutes.
The crushed red pepper gives the stew a bit of heat so if you don’t like spicy just leave it out of your beef stew.
If you liked this dish please Rate This Recipe and leave a comment.

Chuckwagon Beef and Vegetable Stew
Equipment
Ingredients
- 2 lbs top sirloin steak diced
- 1 tsp salt
- 1 tsp black pepper
- 2 tbsp olive oil
- 1 medium yellow onion diced
- 2 cups carrots peeled and diced
- 1 cup celery ribs diced
- 3 cloves garlic minced
- 8 oz white mushrooms sliced
- 3 tbsp all-purpose flour
- 2 tbsp tomato paste
- ½ cup dark beer
- 2 ½ cups beef stock
- 2 cups baby potatoes cut in half if needed
- 1 tbsp dried thyme
- 1 tbsp crushed red peppers
- 2 tbsp fresh parsley
Instructions
- Cut and season steak with salt and pepper.2 lbs top sirloin steak, 1 tsp salt, 1 tsp black pepper
- Heat olive oil in a Dutch oven over medium heat. Working in batches, add steak to the Dutch oven and cook, stirring occasionally, until evenly browned, about 6-8 minutes. Remove from pan and set aside.2 tbsp olive oil
- Add onion, carrots and celery. Cook, stirring occasionally, until tender, about 3-4 minutes.1 medium yellow onion, 2 cups carrots, 1 cup celery ribs
- Add garlic and mushrooms, and cook, stirring occasionally, until tender and browned, about 3-4 minutes.3 cloves garlic, 8 oz white mushrooms
- Whisk in flour and tomato paste until lightly browned, about 1 minute.3 tbsp all-purpose flour, 2 tbsp tomato paste
- Stir in beer, scraping any browned bits from the bottom of the pot.½ cup dark beer
- Stir in beef stock, thyme, bay leaves, baby potatoes, and steak. Bring to a boil; reduce heat and simmer until beef is very tender, for about 60 minutes.2 ½ cups beef stock, 1 tbsp dried thyme, 1 tbsp crushed red peppers, 2 tbsp fresh parsley, 2 cups baby potatoes
Nutrition
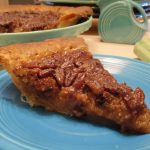
Other Recipes That Go Well With Chuckwagon Beef and Vegetable Stew


Photo Credits:
- By Taste The World Cookbook – Copyright 2022 All rights reserved.
- By 97 West Kitchen & Bar – By https://www.facebook.com/97WestKitchenBar
- By TheLionHasSeen – Own work, CC BY-SA 4.0, https://commons.wikimedia.org/w/index.php?curid=93927048
- By Mark Fisher – Own work, CC BY-SA 3.0, https://commons.wikimedia.org/w/index.php?curid=21848404
- By Mark Fisher – Own work, CC BY-SA 3.0, https://commons.wikimedia.org/w/index.php?curid=21848181
- By Payton Chung – https://www.flickr.com/photos/paytonc/17189915879/in/photostream/, CC BY 2.0, https://commons.wikimedia.org/w/index.php?curid=93564012
- By Michael Barera, CC BY-SA 4.0, https://commons.wikimedia.org/w/index.php?curid=49416184